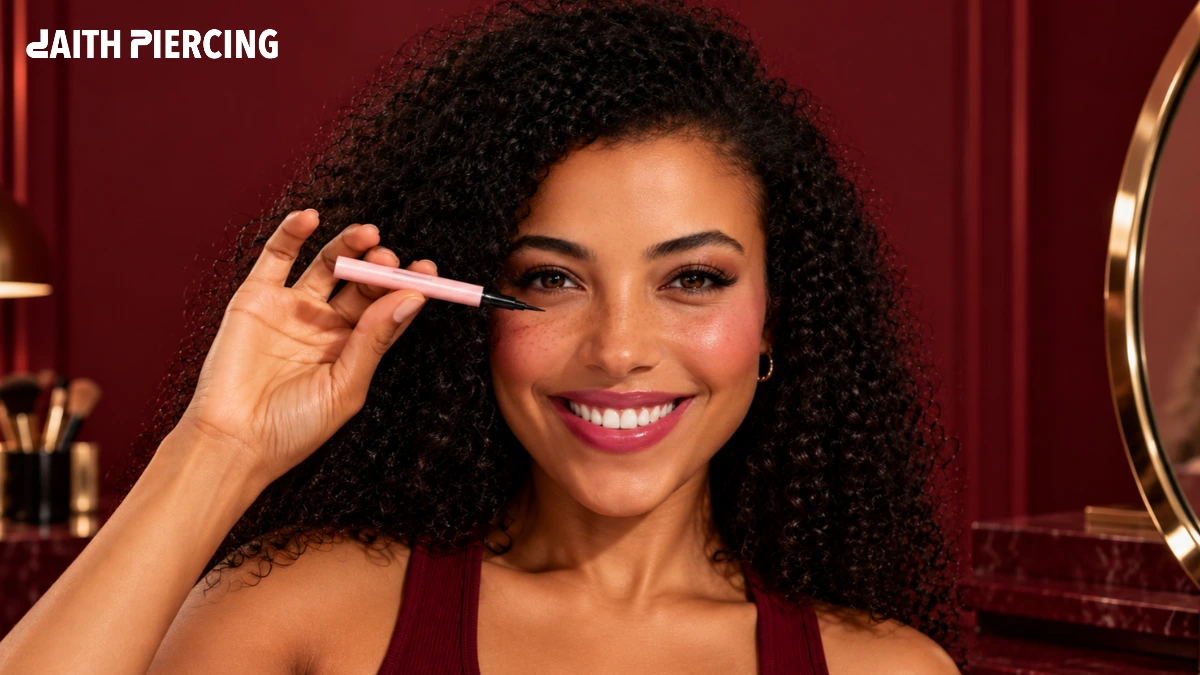
How to Use a Freckle Pen: There is something charming about freckles. A scattering across the bridge of the nose, a few soft dots on the cheeks, and suddenly a polished makeup look feels a little more relaxed. The skin looks sun-kissed, the finish feels playful, and the face has a kind of effortless character that heavy contouring cannot quite recreate.
You do not need naturally freckled skin to achieve that effect. A freckle pen can help you create realistic-looking faux freckles at home, whether you want a barely-there sprinkling or a more noticeable, playful pattern.
The secret is not drawing perfect dots. It is choosing the right shade, varying the size and spacing, and blending just enough to make the freckles look as though they belong on your skin.
What Is a Freckle Pen?
A freckle pen is a makeup product designed to create temporary, freckle-like dots on the face. Most have a fine tip for individual marks, while some use a multi-point stamp to apply several dots at once.
They are available in different brown tones, making it easier to find a color that works with your skin tone and makeup style. Depending on the formula, the finish may appear soft and sheer or more defined.
Freckle pens are especially useful when you want to experiment with faux freckles without committing to a permanent cosmetic procedure.
How to Choose the Right Freckle Pen
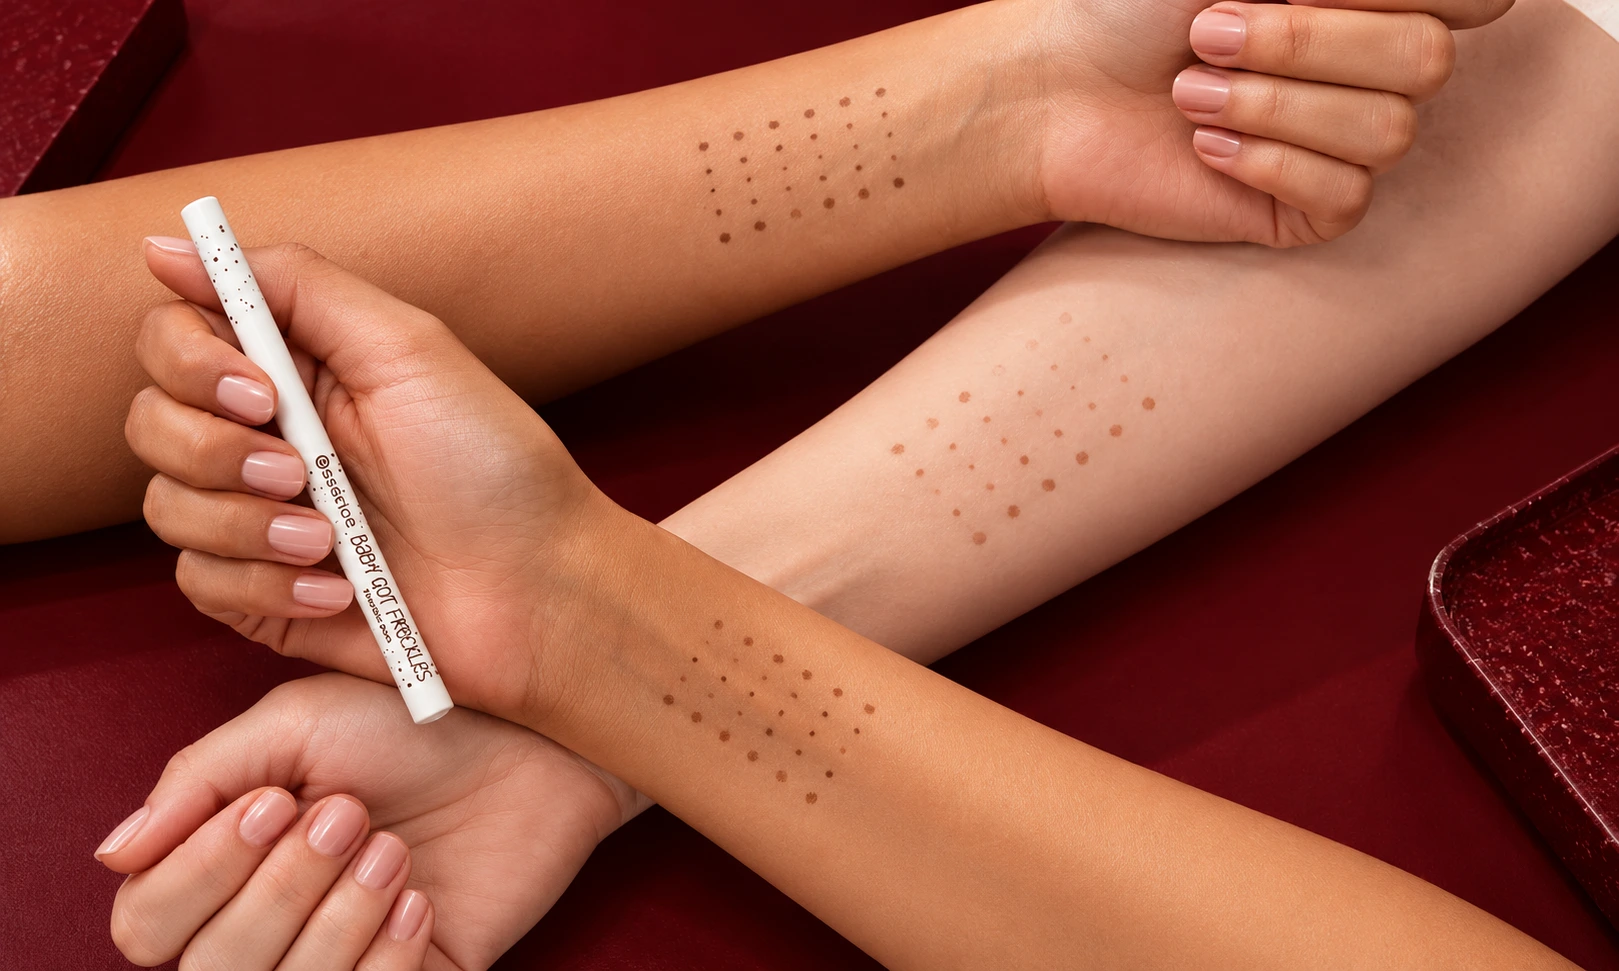
The right product should complement your complexion rather than look like a collection of dots drawn on top of it.
Match the Shade to Your Natural Coloring
Start by considering your skin tone, undertone, and the color of any natural freckles you already have.
- Fair skin: Light beige-brown or soft, muted brown shades can create a delicate effect.
- Light to medium skin: Neutral or warm medium browns often work well.
- Medium to deep skin: Rich brown shades can provide definition while remaining natural-looking.
- Deep skin: Deeper brown tones may blend more harmoniously than pale or overly orange shades.
These are starting points, not strict rules. Your undertone and preferred makeup finish matter just as much as your overall skin depth.
If you are uncertain, test the shade on a small area first. A color that looks subtle on your hand may appear much darker against your face.
Choose Between a Pen and a Stamp
A fine-tip pen gives you more control over individual freckles. It is ideal if you want to vary the size, position, and intensity of each mark.
A freckle stamp is convenient when you want several dots in one motion. However, you may need to soften the pattern or add individual marks afterward to avoid a repetitive appearance.
If natural-looking placement is your priority, a fine-tip pen is a good starting choice.
Check the Formula
Choose a product intended for cosmetic use on the face. Check the ingredient list if you have sensitive skin, and follow the manufacturer’s directions. Patch-test a new product before using it across your cheeks and nose.
How to Use a Freckle Pen Step by Step
You do not need complicated tools or professional makeup skills. A light hand and a little patience make the biggest difference.
Step 1: Prepare Your Skin and Finish Your Base Makeup
Begin with your usual skincare and makeup routine. Apply foundation or skin tint, concealer, blush, bronzer, and other complexion products before adding faux freckles.
Freckles generally look more integrated when they sit over your finished makeup rather than disappearing beneath later layers.
If you prefer a minimal look, you can also apply them over bare skin or a light skin tint.
Let your base settle before continuing. A very wet or slippery surface can make some products harder to control.
Step 2: Start Around the Nose
The bridge of the nose and the upper cheeks are classic places to create a freckled effect.
Begin with just a few small dots across the nose, then extend some toward the inner cheeks. Do not try to make both sides perfectly symmetrical. Natural-looking freckles tend to have an irregular pattern.
Step back from the mirror occasionally. Looking too closely can tempt you to add more marks than you actually need.
Step 3: Vary the Size and Spacing
This is where the result begins to look convincing.
Make most of your freckles small and subtle, then add a few slightly larger marks to create variation. Leave some spaces between dots rather than filling every available area.
Avoid arranging them in straight lines or evenly spaced rows. A random-looking pattern usually appears more natural than a carefully repeated one.
You can extend a few freckles onto the cheeks, but keep the overall distribution balanced with the rest of your makeup.
Step 4: Let the Pigment Set Briefly
Give the product a moment to settle according to its instructions. Immediately rubbing or blending wet pigment may smear the dots and leave uneven marks.
The ideal timing depends on the formula, so avoid assuming that every freckle pen behaves in the same way.
Step 5: Tap to Soften the Edges
Use a clean fingertip to gently tap a few of the dots. The goal is to diffuse harsh edges without erasing the color completely.
You do not need to blend every freckle equally. Leaving some defined while softening others creates a more varied finish.
If your freckles become too faint, allow the area to settle and carefully add a few more marks.
Step 6: Adjust the Intensity
Look at your makeup in natural light if possible. Indoor lighting can make subtle freckles appear more or less noticeable than they really are.
If the effect feels too strong, lightly tap a small amount of foundation or skin tint over the most prominent dots. If it looks too subtle, add a few more freckles selectively rather than repeating the entire pattern.
Finish with your preferred setting product if needed, following the directions for your makeup formula.
How to Make Faux Freckles Look Real
The difference between believable freckles and obvious makeup dots often comes down to restraint.
Keep the pattern irregular. Real freckles vary in shape, size, and concentration. Avoid making every dot identical.
Use a shade that suits your complexion. Extremely dark or orange-brown pigment can stand out against your base makeup. Test your color before applying it across the face.
Concentrate the pattern thoughtfully. A little more color around the nose and upper cheeks can create a familiar freckled appearance. You can gradually reduce the number of dots farther out across the cheeks.
Blend selectively. Smudging every mark can turn the pattern into a muddy patch. Leave some dots sharper and soften others.
Do less than you think you need. It is easier to build up a subtle result than to correct an entire face covered in overly dark marks.
Check your makeup from a distance. A pattern that looks convincing close to a mirror may appear too dense when viewed across a room.
Common Freckle Pen Mistakes to Avoid
Making Every Dot the Same Size
Uniform dots can make the result look stamped on. Mix small marks with a few slightly larger ones, and vary the distance between them.
Choosing a Shade That Is Too Dark
A dramatic shade can work for an intentionally bold makeup look, but it may be less suitable for subtle, everyday faux freckles. Start lighter and build up the pigment gradually.
Applying Too Many Freckles at Once
It is easy to keep adding dots because each one looks small in isolation. Pause after the first application and assess the overall effect before continuing.
Blending Too Aggressively
Rubbing can spread the pigment and remove the definition you worked to create. Gentle tapping gives you more control.
Applying Freckles Before the Rest of Your Makeup
Foundation, blush, and other complexion products can cover or distort freckles applied too early. For most makeup routines, adding them near the end makes placement easier.
How to Fix Faux Freckles That Look Too Obvious
An overly bold result does not necessarily mean you need to start your makeup again.
If a few dots look too dark, gently tap a little foundation or skin tint over them. If several freckles have blurred together, use a clean fingertip or the makeup tool appropriate for your base product to soften the surrounding area without rubbing the pigment across your face.
If the pattern is uneven, avoid trying to correct every mark individually. Soften the strongest dots first, then add a few smaller marks where needed to restore balance.
For a complete reset, use a gentle facial cleanser suitable for your skin and the product’s removal instructions. Do not scrub aggressively to remove stubborn pigment.
How to Remove Freckle Pen Makeup
Most conventional freckle pens are designed to create temporary makeup that can be removed during your normal cleansing routine. However, formulas differ, so check the packaging before assuming that a product will wash off easily.
Start with a gentle cleanser or an appropriate makeup remover. Follow with your usual skincare routine, and avoid excessive rubbing around the nose and cheeks.
If a product is marketed as long-wearing or stain-like, it may require a different removal method. Follow its specific instructions rather than treating every freckle pen as an ordinary washable formula.
Can You Wear Faux Freckles With Any Makeup Look?
Absolutely. Faux freckles are not limited to a particular aesthetic.
For a fresh everyday look, pair a few subtle freckles with light base makeup, brushed brows, and a tinted lip balm. If you prefer a more polished finish, add them over your usual foundation and blush, then soften the dots until they blend with your complexion.
For a bolder look, you can make the freckles more defined or experiment with their placement. The important thing is to make the finish intentional rather than feeling that freckles must always look barely visible.
Explore more ideas in our makeup guides and makeup tools and techniques for ways to adapt your routine to your personal style.
Frequently Asked Questions
Do you apply a freckle pen before or after foundation?
For most makeup routines, apply it after foundation, concealer, blush, and other complexion products. This helps you see where the freckles should sit and reduces the chance of covering them with later layers.
How do you make freckle pen dots look natural?
Choose a suitable shade, vary the size and spacing of the dots, concentrate them thoughtfully around the nose and upper cheeks, and gently tap some to soften their edges. Avoid making every mark identical.
Can beginners use a freckle pen?
Yes. A fine-tip pen is relatively easy to control, and you can begin with just a few dots. Build up the pattern gradually instead of trying to create a full freckled effect in one pass.
Are faux freckles permanent?
Freckles created with conventional makeup pens are temporary. They can generally be removed with a suitable cleanser or makeup remover. Long-wear formulas may behave differently, so check the product instructions.
Can I use a freckle pen on bare skin?
Yes, provided the product is intended for facial use and your skin tolerates it. You can apply it to bare skin or over a light skin tint. The finish may look different depending on the product and your skincare underneath.
What should I do if my faux freckles are too dark?
Gently tap a little foundation or skin tint over the strongest dots. If necessary, soften the surrounding area and rebuild the pattern with smaller, lighter marks. Avoid aggressive scrubbing.
Should I use a freckle pen or a freckle stamp?
Choose a pen if you want precise control over each dot’s size and placement. A stamp is convenient for applying several freckles at once, although you may need to adjust the pattern to make it look less uniform.
The Final Word
The best faux freckles do not look perfectly placed. They look like a natural detail that happens to make your makeup feel more personal.
Choose a flattering shade, start with a few dots, vary their size, and soften only where necessary. Most importantly, stop when the pattern feels balanced. You can always add more, but a light hand is often what makes the finished look feel effortless.