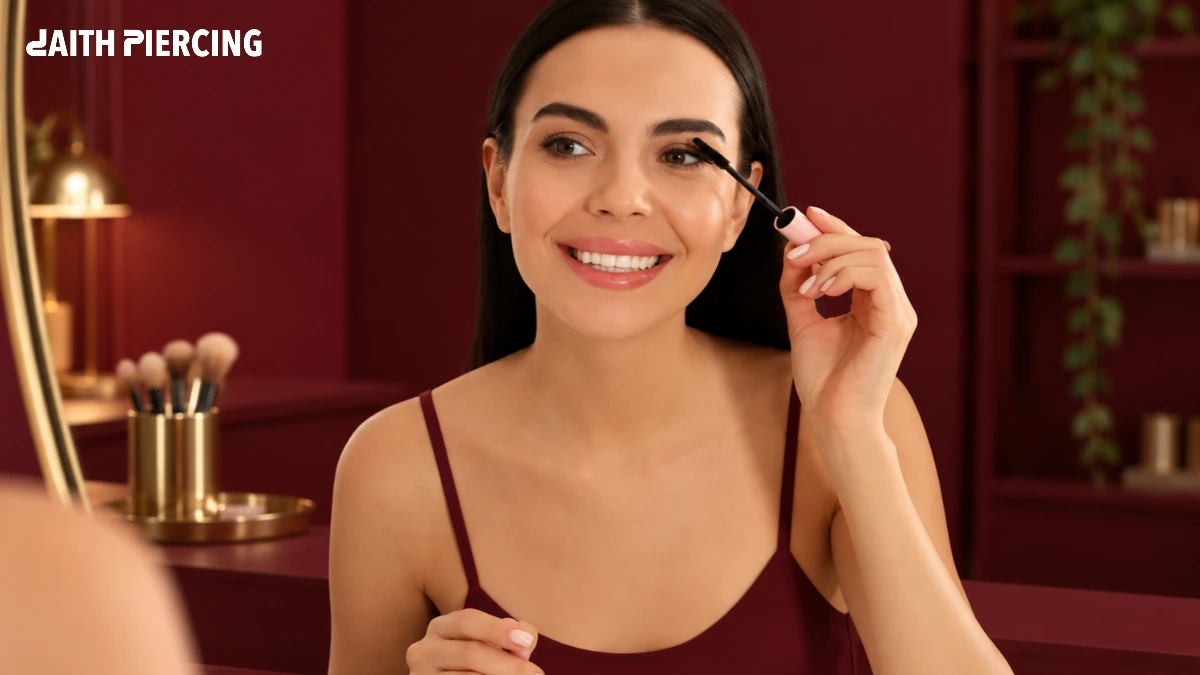
Mascara can make your eyes look more awake in just a few seconds. It adds definition, brings out your natural lashes, and can make them appear longer without needing false eyelashes. But there’s one little problem. A few extra strokes can leave you with thick clumps, messy eyelids, or black marks under your eyes.
The good news is that you don’t need expensive mascara or professional makeup skills to avoid these problems. Learning how to apply mascara is mostly about preparing your lashes, using the right amount of product, and giving each coat a little attention.
Whether you’re getting ready for work or putting together a complete evening look, these simple steps can help you achieve clean, lifted, and separated lashes.
Key Takeaways
- Start with clean, completely dry lashes so mascara applies more evenly.
- Curl your lashes before applying mascara, not after.
- Remove excess product from the wand to prevent clumps.
- Apply thin coats from the roots towards the tips using gentle movements.
- Choose a formula that suits your lashes and helps prevent smudging.
- Replace old mascara regularly and never share your eye makeup.
How to Apply Mascara Step by Step
Getting beautiful lashes doesn’t require complicated techniques. Follow these steps in order and adjust the amount of product to suit your natural lashes.
1. Start With Clean and Dry Lashes
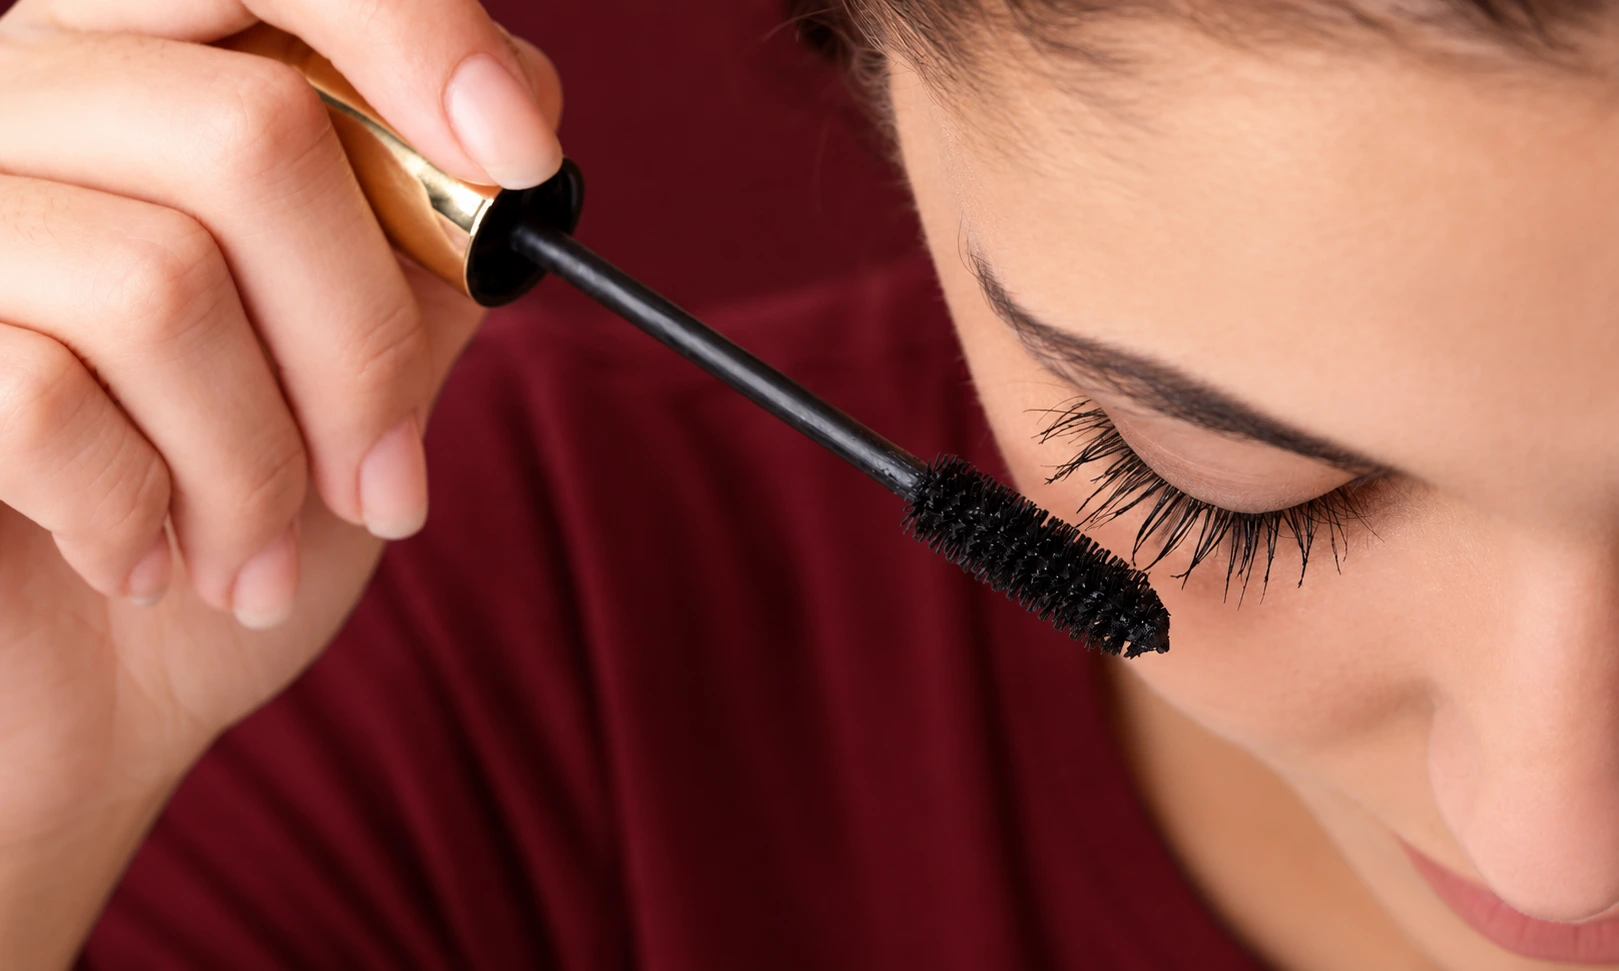
Before reaching for your mascara, make sure your lashes are free from leftover makeup, oily residue, and eye cream. These products can affect how mascara sits on your lashes and may contribute to smudging.
If you’ve already applied skincare, give the area around your eyes a moment to settle. Gently pat away any moisture with a clean tissue if needed. Your lashes should be completely dry before you begin.
This small step can make the rest of your makeup routine easier. Mascara tends to apply more evenly when you’re working with clean lashes instead of trying to cover leftover products.
2. Curl Your Lashes Before Applying Mascara
An eyelash curler can make straight or downward-pointing lashes look more lifted. The trick is to use it before applying mascara, while your lashes are clean and uncoated.
Place the curler close to the roots without pinching your eyelid. Gently squeeze it for a few seconds, then release. You can repeat the movement towards the middle of your lashes for a softer curve if your curler allows it.
Never pull hard or clamp the curler roughly. Also, avoid curling lashes after mascara has dried because coated lashes can become stiff and more likely to break.
If your lashes already have a natural curl, you can skip this step.
3. Remove Extra Mascara From the Wand
One of the easiest ways to prevent mascara clumps is to check the wand before it touches your lashes. Too much product can collect between individual lashes, making them stick together.
Pull the wand out slowly and remove any obvious excess using a clean tissue or the tube’s rim. You want enough mascara to coat your lashes, not a large blob sitting on the brush.
Avoid pumping the wand up and down inside the tube. This pushes air into the container and may cause the formula to dry out faster.
A little product goes a long way, especially when you’re aiming for natural-looking lashes.
4. Start at the Roots and Move Upwards
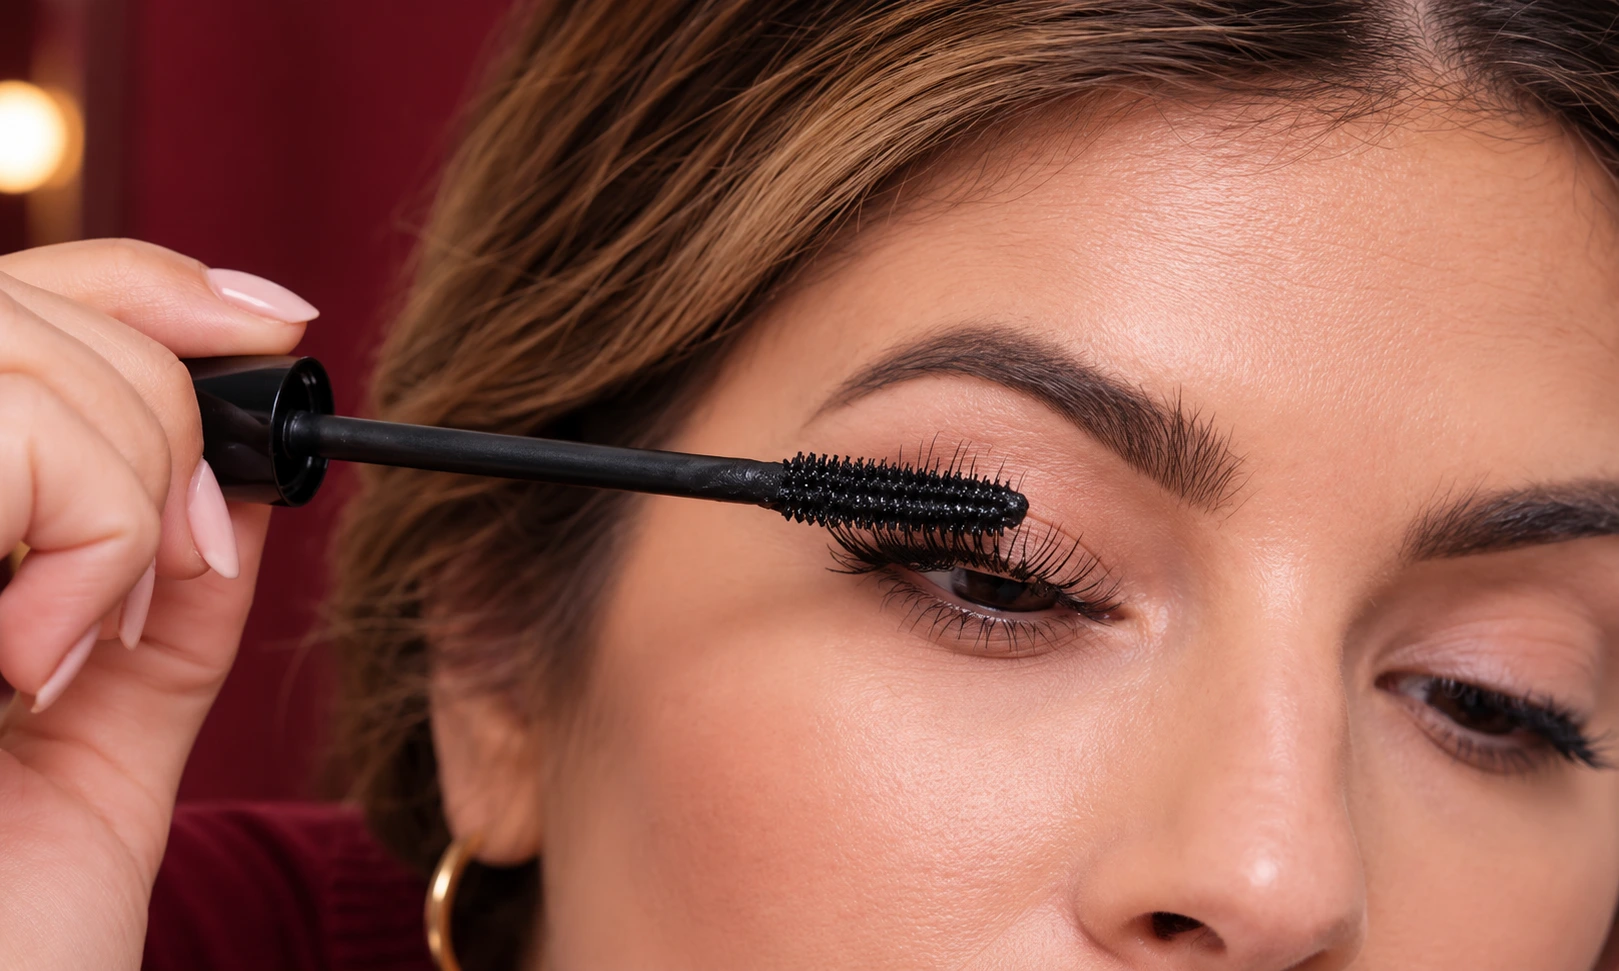
Now comes the part that makes the biggest difference to your final look.
Place the mascara wand near the roots of your upper lashes without touching your skin or eye. Move it gently from side to side, then sweep upwards towards the tips.
This small side-to-side movement helps distribute the formula across the lashes. As you move upwards, follow their natural direction instead of brushing every lash straight ahead.
Use a light hand and work slowly. Rushing can leave uneven patches, while pressing too much product onto the tips can make your lashes look heavy.
5. Apply Thin Coats Instead of One Thick Layer
If you want longer-looking lashes, applying more mascara isn’t always the answer. A thick layer can weigh down the lashes and make individual hairs stick together.
Start with one light coat and check the result. If you want extra length or volume, add another thin coat while the first is still slightly workable.
Pay attention to the tips because they can collect excess product. Use the brush to separate the lashes rather than repeatedly covering the same area.
For an everyday look, one or two light coats are often enough. You can build a more dramatic effect gradually without making your lashes look overly thick.
6. Give Your Lower Lashes a Lighter Touch
Lower lashes can be tricky because the wand has less room to move. Too much product here can create dark marks under your eyes or make the makeup look heavier than intended.
Hold the wand vertically or use its tip to apply a small amount of mascara to the lower lashes. Make gentle movements and focus on the hairs rather than the skin beneath them.
You don’t have to coat every lower lash. A light application near the outer half can add definition without making the area look crowded.
If your mascara often transfers to your under-eye area, skipping lower-lash mascara may be the simplest solution.
How to Prevent Mascara Clumps and Smudges
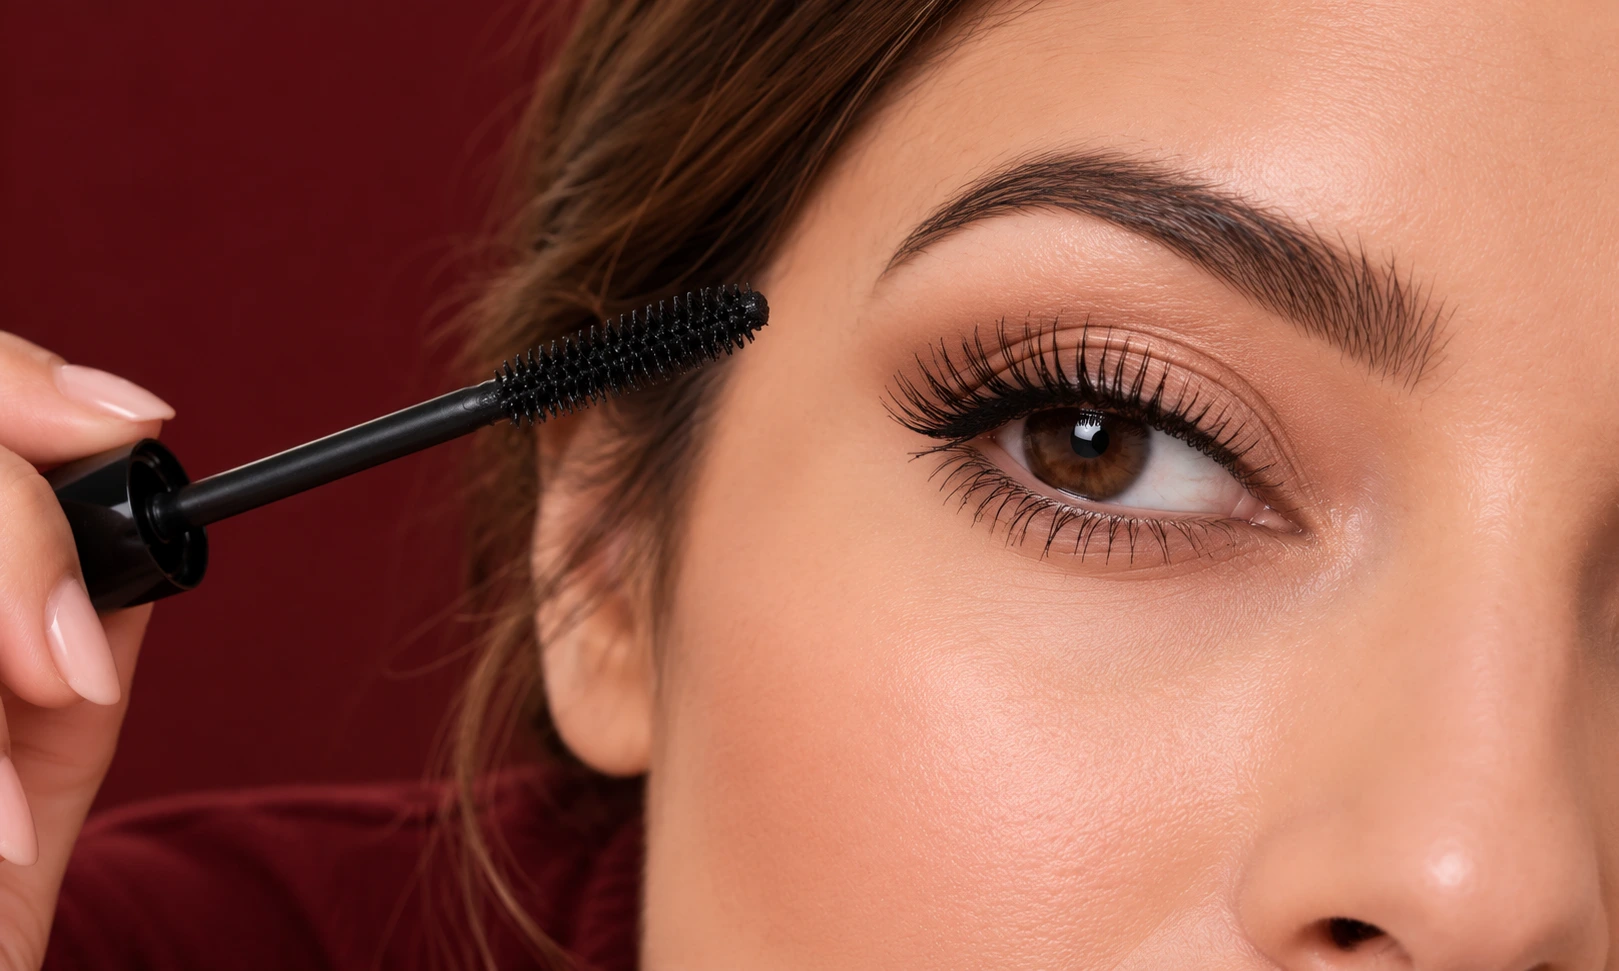
Even when your technique is good, mascara can still misbehave. The formula, your skin’s natural oils, and the amount of product you use can all affect the result.
Choose the Right Mascara Formula
Different mascaras are made for different results. Lengthening formulas focus on making lashes appear longer, while volumizing formulas create a fuller look. Some products offer both effects.
If your mascara regularly leaves dark marks beneath your eyes, try a smudge-resistant or water-resistant formula. Waterproof mascara can also help in wet conditions, although it may take more effort to remove.
Think about your everyday routine before choosing. If you have oily eyelids or your eyes water easily, wear performance may matter more than dramatic volume.
There’s no single best mascara for everyone. The right choice is the one that works with your lashes and doesn’t irritate your eyes.
Separate Lashes Before the Mascara Dries
Sometimes a few lashes stick together even when you’ve used a small amount of product. A clean lash comb or spoolie can help separate them.
Gently comb through your lashes while the mascara is still slightly workable. Avoid pulling or forcing the tool through thick, sticky areas.
Don’t keep adding more mascara to fix clumps. That usually makes the problem worse. If a section has become too heavy, let the product settle and carefully remove the excess rather than piling on another coat.
Prevent Mascara From Stamping Your Eyelids
Fresh mascara can transfer to your upper eyelids when you blink before it dries. This is especially frustrating after you’ve finished your eyeshadow.
After applying mascara, look slightly downward and keep your eyes relaxed for a short moment while the formula sets. Avoid blinking hard or touching your lashes immediately.
If your eyelids are oily, a small amount of suitable setting powder on the surrounding skin may help reduce transfer. Apply it carefully and keep powder away from your eyes.
For a smudge that has already dried, use a clean cotton swab to lift it away gently. Adding more foundation over wet mascara can spread the mark and make it harder to remove.
How to Make Your Lashes Look Longer and Fuller
You can create a more lifted look without applying several heavy layers.
First, focus on the roots. A gentle wiggle at the base gives lashes definition, while an upward sweep coats their full length. Next, direct the brush slightly outwards near the outer corner to create a soft, fanned effect.
A separating brush can help if your lashes naturally grow close together. For shorter lashes, a slim wand may offer better control than a large, thick brush.
You can also choose a brown mascara for a softer everyday finish or black mascara for more noticeable definition. Both can work well depending on your makeup style.
Remember that mascara changes how your lashes look temporarily. It doesn’t permanently lengthen them, and adding more product won’t necessarily make them appear longer.
Common Mascara Mistakes to Avoid
A few everyday habits can make mascara harder to apply and wear.
- Applying too much product: Heavy layers often create clumps and stiff-looking lashes. Start small and build gradually.
- Using mascara on damp lashes: Moisture or leftover skincare can interfere with an even application.
- Curling lashes after mascara: This can stress coated lashes and cause breakage.
- Pumping the wand: Extra air entering the tube can contribute to the formula drying out.
- Layering over old mascara: Adding fresh product to a thick, dry layer can create flakes and uneven texture.
- Using an old formula: Mascara that has dried out or changed texture is harder to apply smoothly.
You don’t need to change your whole makeup routine to fix these issues. Start by adjusting one or two habits and see which changes make the biggest difference.
How to Keep Your Mascara Safe to Use
Good application matters, but eye safety deserves the same attention. Mascara is used close to a sensitive area, so keeping the product and wand clean is essential.
The US Food and Drug Administration advises consumers not to share eye cosmetics, to stop using products that cause irritation, and to discard mascara according to its recommended replacement period. Its guidance says mascara is generally discarded around three months after purchase, although product instructions may vary. Read the FDA’s eye cosmetic safety guidance for more information.
Never add water or saliva to dried mascara to make it usable again. This can introduce microorganisms or interfere with the product’s protective ingredients. Throw away mascara that has dried out or changed noticeably.
If you develop an eye infection, stop using eye makeup and discard potentially contaminated products. Seek medical advice if irritation persists or you experience concerning eye symptoms.
At Daithpiercing, the aim is to keep beauty advice practical and easy to follow. Safe habits are part of a good makeup routine, not an extra step to ignore when you’re in a hurry.
Final Thoughts
Learning how to apply mascara is less about having a perfect hand and more about using a few simple techniques consistently. Clean lashes, a lightly loaded wand, and thin coats can make a noticeable difference.
Take your time, choose a formula that suits your needs, and avoid trying to achieve every effect with extra product. With a little practice, you can create longer-looking, well-separated lashes without the usual clumps or smudges.
Frequently Asked Questions
How many coats of mascara should I apply?
One or two thin coats are usually enough for everyday makeup. If you want more volume, add another light layer and check that your lashes remain separated. Too many coats can make them look thick and clumpy.
Why does my mascara smudge under my eyes?
Smudging can happen when mascara mixes with natural skin oils, moisture, or skincare residue. A water-resistant or smudge-resistant formula may help. Applying less mascara to your lower lashes can also reduce transfer.
Should I apply mascara before or after eyeliner?
Mascara is generally applied after eyeliner and eyeshadow. This lets you finish your eye makeup first without accidentally disturbing freshly coated lashes.
How do I apply mascara to short lashes?
Choose a slim wand that gives you better control. Start near the roots and use small, careful movements to coat the lashes from base to tip. Avoid loading the brush with too much product.
How often should I replace mascara?
Follow the product’s instructions and discard mascara around three months after purchase as a general safety guideline. Replace it sooner if it dries out, changes noticeably, or has been exposed to a possible source of contamination.
Can I use mascara every day?
Many people can use mascara daily without problems, as long as the product suits their eyes and they use it hygienically. Remove it gently before bed, avoid sharing it, and stop using it if you notice irritation.
Disclaimer:
This article is for general beauty and educational purposes only. Follow your mascara’s instructions and seek medical advice if you experience persistent irritation or other eye problems.